
What to Do in a
Surfing Emergency
When seconds matter, hesitation costs lives. This is the essential first aid knowledge every surfer, parent, and beachgoer needs to act with confidence when it counts.
Surfing emergencies are rare — but when they happen, they move fast. Brain damage from oxygen deprivation begins within 4–6 minutes. That narrow window is why bystander response — from other surfers, beachgoers, or parents on the sand — can be the deciding factor between life and death before professional help arrives.
This guide walks through the most critical beach and surf emergencies: recognising a drowning, performing CPR after water rescue, managing spinal injuries, and knowing when to act versus when to wait for the lifeguard. It is not a replacement for a proper first aid course — but it is knowledge that could save someone you love.
"Drowning is mostly silent. It doesn't look like the movies. A person in real trouble rarely waves or shouts — they're using every muscle just to breathe."
How to Spot Someone in Trouble
The biggest mistake bystanders make is not recognising a drowning person in time. Real drowning is quiet, upright, and often mistaken for someone treading water. A drowning person can sink in as little as 20–60 seconds.
Reach, Throw, Don't Go
The golden rule of water rescue: do not enter the water to rescue someone unless you are a trained lifeguard with a flotation device. Each year, well-meaning bystanders become victims themselves. Use the "Reach, Throw, Don't Go" protocol first.

CPR After Drowning — What's Different
CPR for a drowning victim differs from standard cardiac CPR: the heart stopped due to lack of oxygen, not a heart event. Updated American Heart Association guidelines (2024) confirm that trained rescuers should begin with rescue breaths, not compressions alone. Breathing is the priority.
Remove From Water
Get them onto firm, flat ground. Do not delay CPR to find a stretcher. Lay on their back. Neck restriction is not necessary unless there is obvious head trauma.
Check Responsiveness
Shout their name. Tap their shoulder. If no response, call for an AED and ensure someone has called emergency services. Check for breathing — no more than 10 seconds.
5 Rescue Breaths First
Tilt head back, lift chin, pinch nose. Give 5 rescue breaths — 1 second each, enough to see the chest rise. This is the critical difference from standard CPR.
30:2 CPR
30 chest compressions — centre of chest, 5–6cm deep, 100–120 per minute — then 2 rescue breaths. Repeat until signs of life, help arrives, or you can't continue. Take turns.
Watch for Vomiting
Many drowning patients vomit during CPR. Roll them on their side immediately, clear the airway, return to back and continue. This is expected — do not be alarmed.
Use an AED If Available
Attach after beginning CPR — start CPR before the AED, not after. Follow the device voice prompts. AEDs are designed for untrained bystanders and are highly effective.
⚠ Do Not — Common Dangerous Mistakes
- Do not hang them upside down to drain water — it wastes critical time
- Do not wait to start CPR until "sure" they've stopped breathing
- Do not stop CPR if they vomit — clear airway and continue
- Do not assume they're dead because they're cold or unresponsive
- Do not skip rescue breaths for a drowning victim if trained
- Do not leave them alone once conscious — deterioration can occur
⚠️ Secondary Drowning — The Hidden Danger
Even after revival, water in the lungs can cause delayed complications 4–8 hours later. If someone who inhaled water develops persistent coughing, shortness of breath, chest pain, unusual fatigue, or confusion — take them to emergency care immediately. Do not wait to see if symptoms resolve.
Other Surf Emergencies to Know
- 🤕Head & Spinal InjuryIf a surfer has hit reef, sea floor, or another board with their head or neck, assume potential spinal injury. Keep them still and supported in the water until emergency services arrive — unless at immediate drowning risk. Moving an unstable spine injury incorrectly can cause permanent paralysis.
- 🩸Lacerations from Reef or FinsApply firm, direct pressure with whatever is clean — a rashguard works. Elevate the limb if possible. Do not remove material once bleeding slows; add layers over it. Deep lacerations should always be assessed at hospital.
- 🫀Suspected Cardiac EventIf a surfer (particularly 55+) collapses without clear drowning cause, suspect cardiac arrest. Begin standard CPR: 30 compressions, 2 breaths. Get an AED. Cardiac events are the leading non-drowning cause of surfing fatalities.
- 🥶Cold Water Shock & HypothermiaRemove wet clothing, wrap in dry layers, shield from wind. Do not rub the limbs — warm the core first: torso, neck, armpits. Seek medical attention if shivering is severe or the person is confused.
- 🪼Marine StingsRinse with seawater (not fresh water). Remove visible tentacles with a card, not bare fingers. Hot water immersion reduces pain for bluebottle stings. Seek emergency care immediately for any signs of allergic reaction: breathing difficulty, rapid swelling, or loss of consciousness.
Get Properly Trained — This Year
Reading this guide is a solid start. But real competence in an emergency comes from hands-on practice. A one-day first aid course could be the most valuable day you spend this year. Look for Red Cross, St John Ambulance, Surf Life Saving, or an equivalent accredited provider in your area.
- 📋Book a First Aid + CPR CourseOne-day accredited courses are widely available through Red Cross, St John, and surf lifesaving organisations. Most cost under $100 and certification lasts 3 years.
- 👨👩👧Bring the Whole FamilyMany providers run family or junior first aid workshops. Teaching teenagers the basics of CPR and drowning response has saved lives.
- 📍Know Where the AED IsBefore you surf a new beach, take 30 seconds to locate the nearest AED. Many are mounted on lifeguard towers or beachfront facilities.
- 📞Save Emergency Numbers000 (AU) · 911 (US) · 999 (UK/IRE) · 112 (EU). In a panic, fumbling for a number costs seconds. Know it before you need it.
Be Seen. Be Safe. Stay Wild.
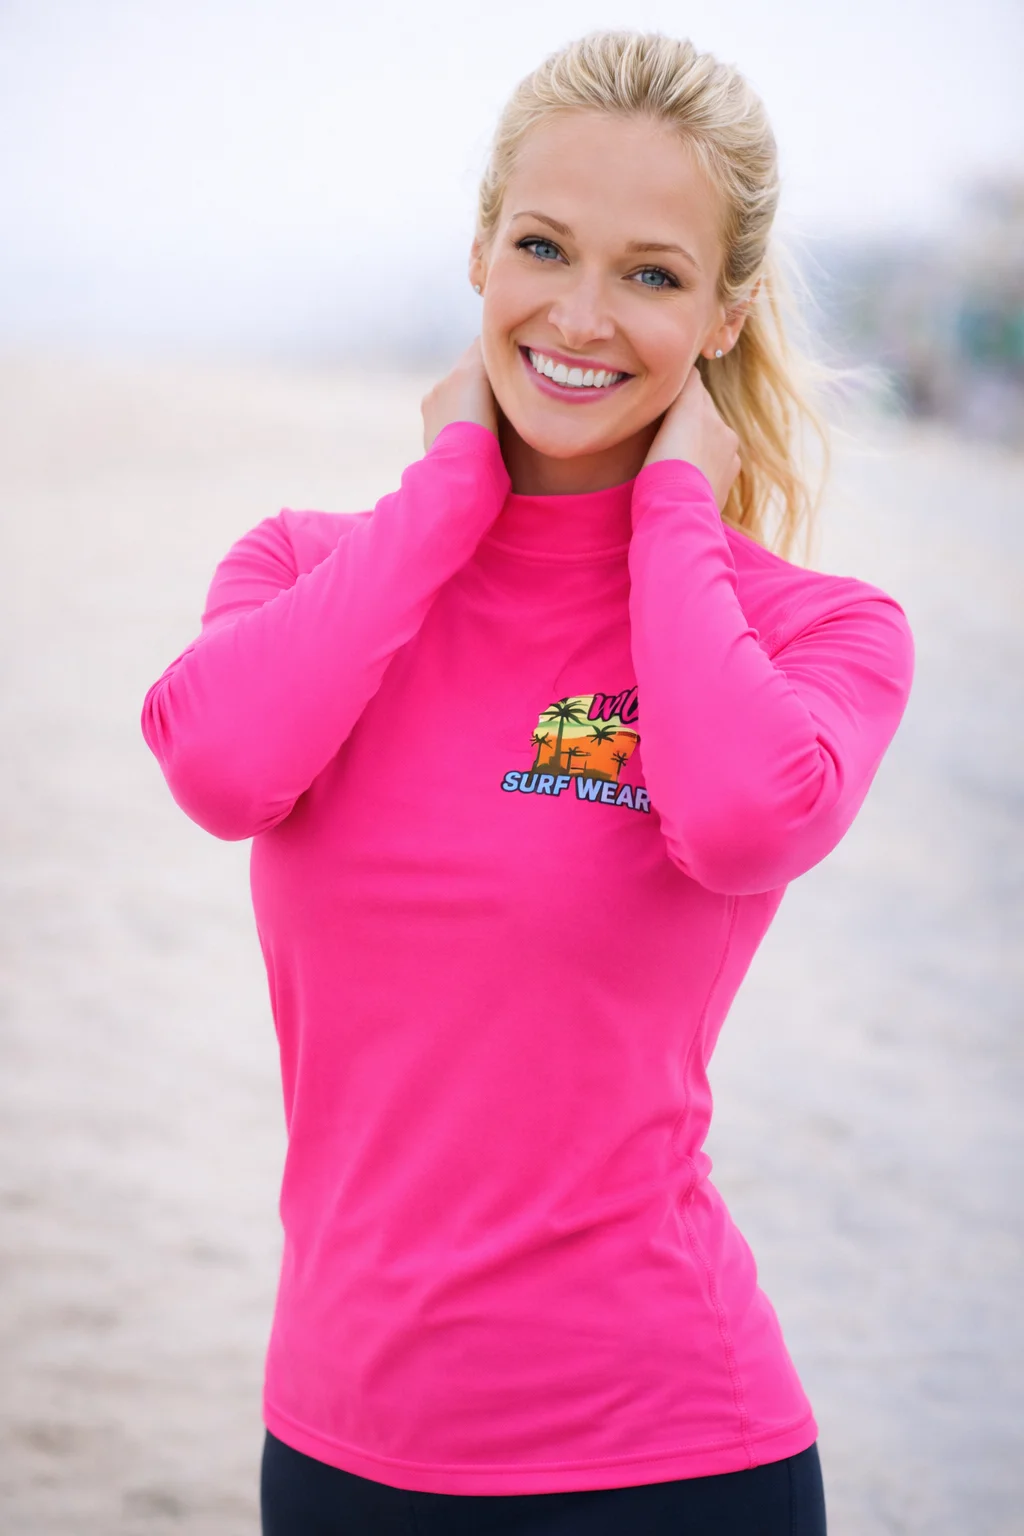
Our ProVis Rashguards are built in high-visibility colourways so lifeguards and fellow surfers can spot you fast in an emergency. Pair with our Kids Rashies — bright, protected, and easy to track from the shore.
The ocean is worth it. Every session, every wave, every sunrise paddle-out. Know your flags, know your rips, wear your protection, and now know what to do when things go wrong. That knowledge, passed on, is how the surf community looks after its own. 🤙
Why High-Vis Rashguards Are a Must-Have for Surfers and Swimmers
The ocean is a busy place. Between other surfers, jet skis, rescue boats, and swimmers all sharing the same break, being easy to spot isn't a luxury — it's a safety essential.
A high-visibility rashguard in neon pink, electric yellow, or vivid orange creates an immediate contrast against the blues and whites of the water. That contrast helps other surfers avoid collisions in crowded lineups, gives jet ski operators a fighting chance to see you before it's too late, and lets lifeguards locate you quickly if something goes wrong. It's the same principle behind hi-vis workwear — stand out from your environment so others can react in time.
Beyond visibility, a quality rashguard also delivers UPF 50+ sun protection — blocking over 98% of UV radiation without washing off mid-session. Unlike sunscreen, it doesn't need reapplying every 80 minutes, making it the more reliable option for anyone spending serious time in the water.
When shopping for a high-vis rashguard, look for genuinely bold colours that hold their vibrancy over time, flatlock stitching to prevent chafing, and four-way stretch fabric that moves with you rather than against you.
The Wild Surfwear ProVis Rashguard range is built around exactly this — bold colours, quality construction, and a fit designed for real time in the water.
Stay safe. Stay seen.
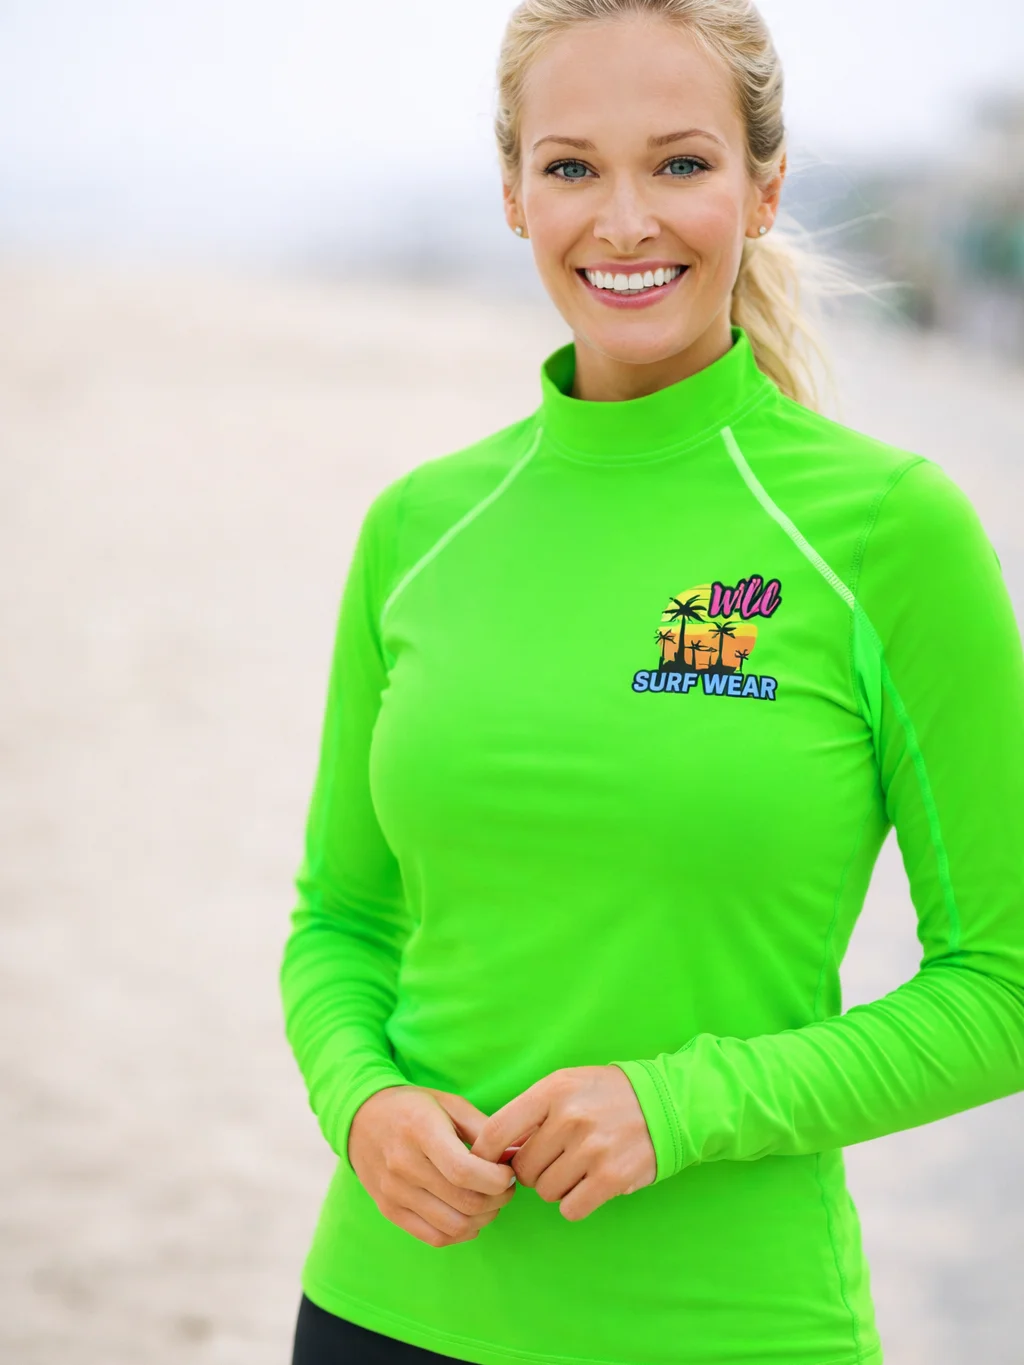
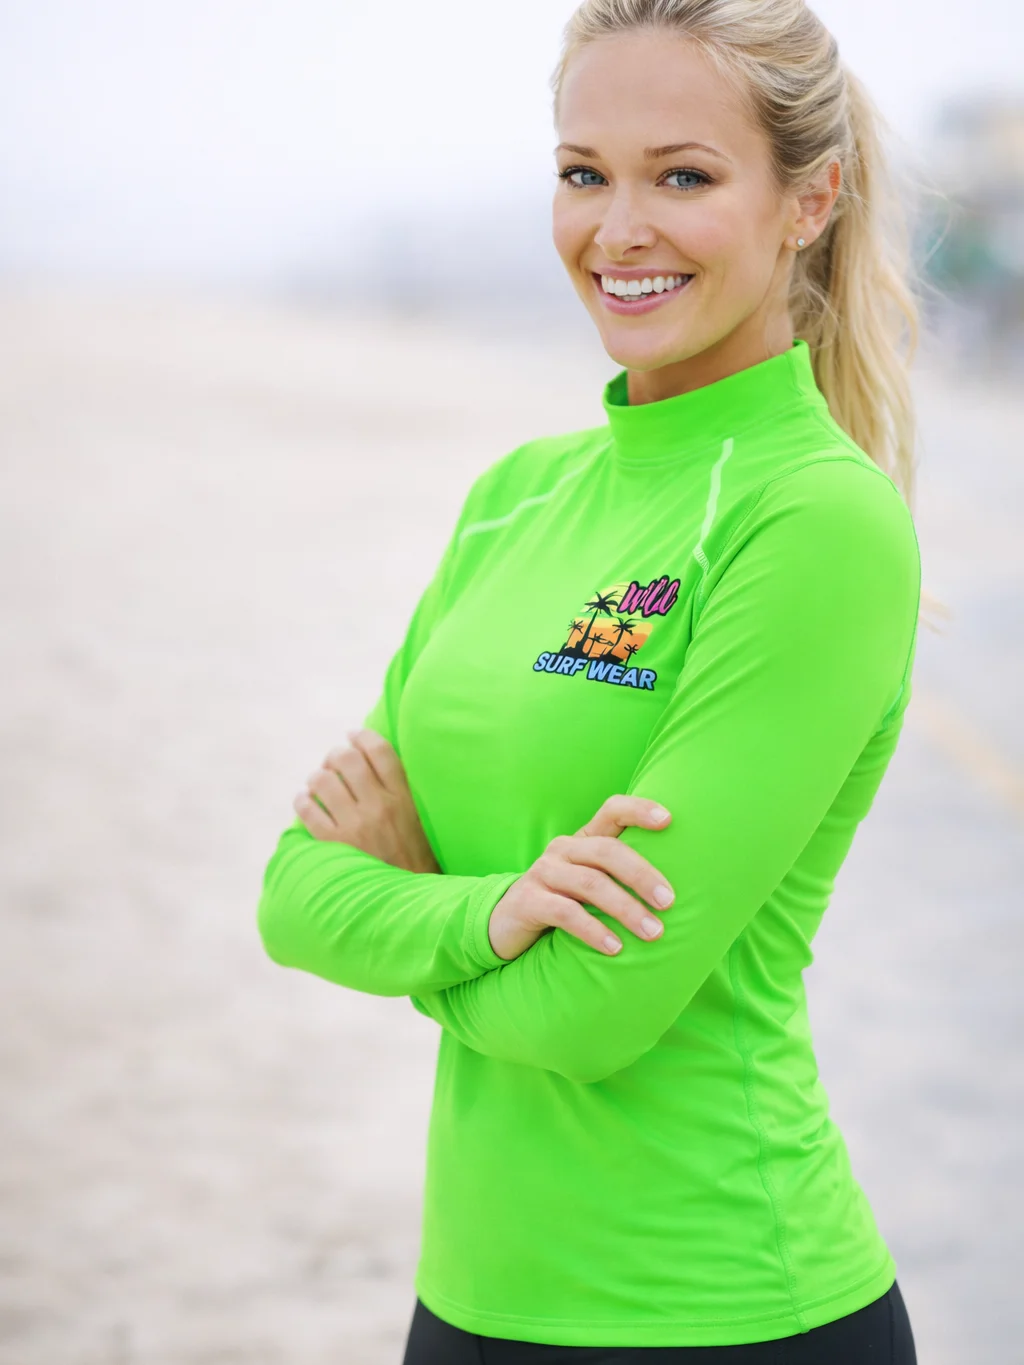
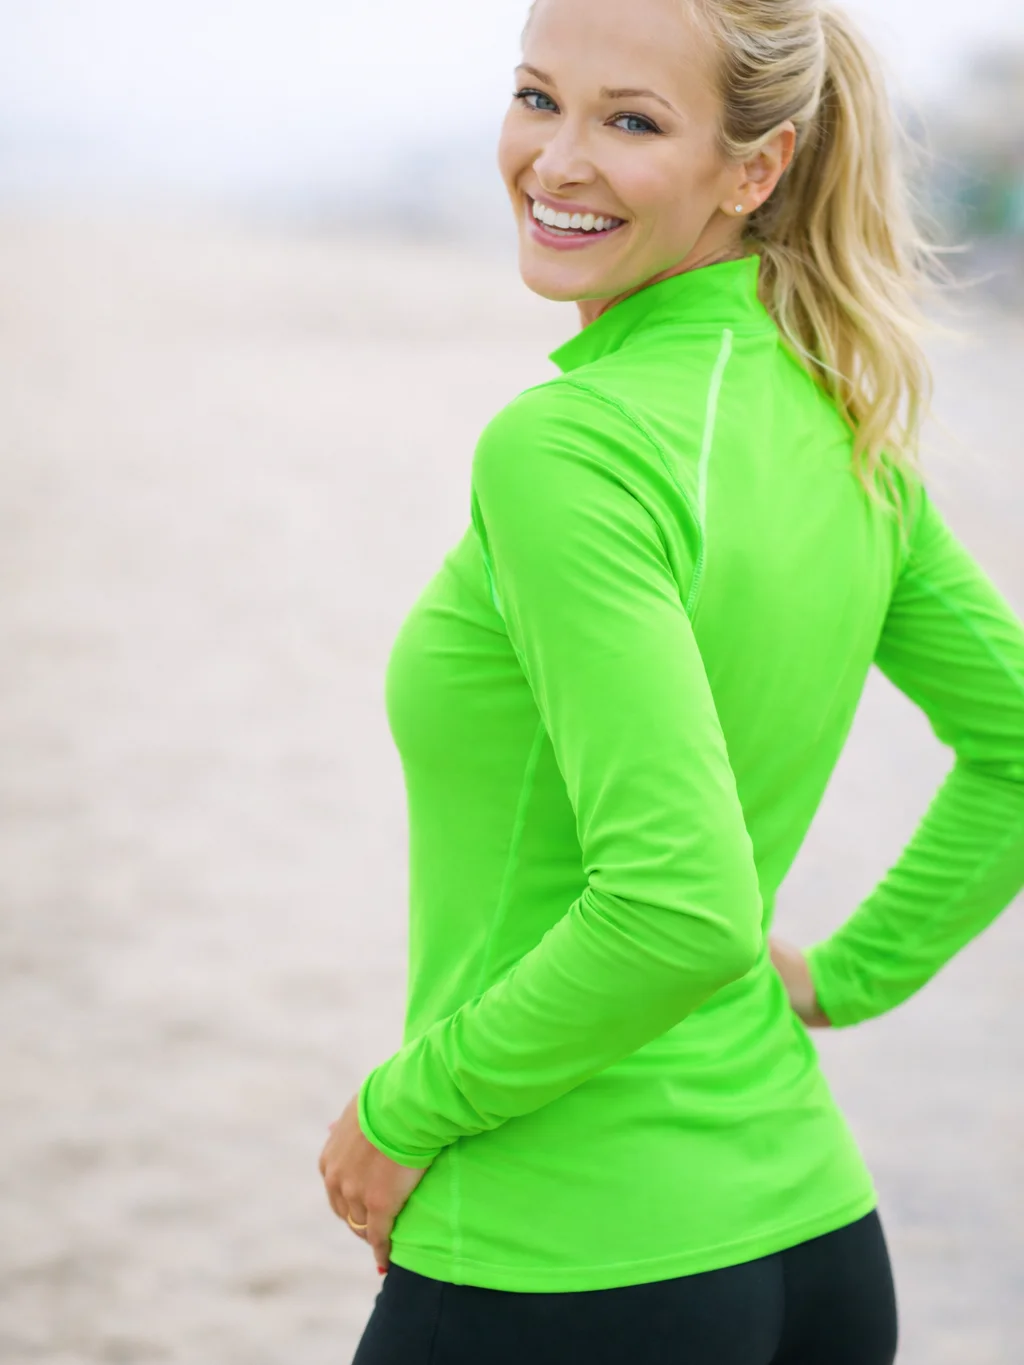
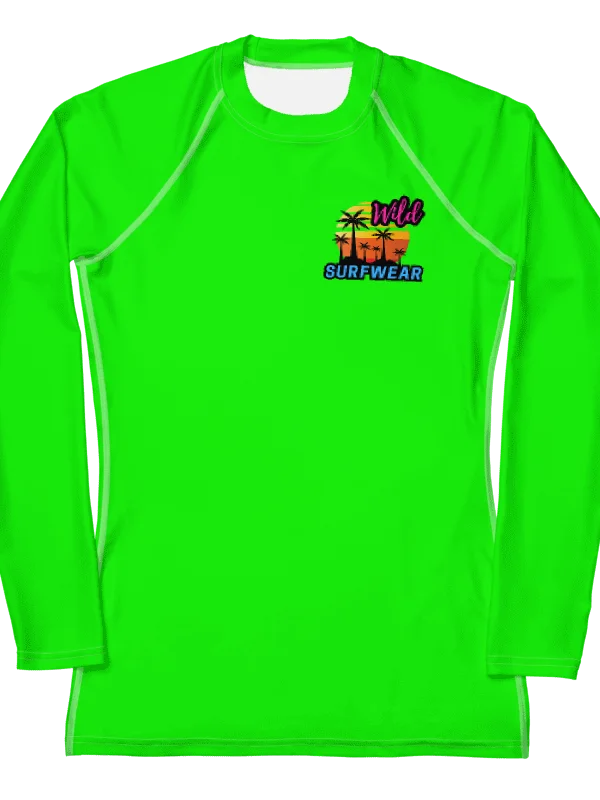
Womens ProVis Neon Green Rashguard
Keep yourself safe and stylish with the ProVis Neon Green Rashguard (Rashie). Designed for optimal protection, this Rashguard offers UV protection and is made from quick-dry, stretchable fabric, ensuring comfort and freedom of movement. The neon color enhances visibility, making it perfect for beach trips, surfing, and water sports. Whether you're out in the surf or splashing around in the pool, this Rashguard helps keep you protected from harmful sun rays while standing out in vibrant style. Ideal for summer adventures, poolside, and all water activities, this versatile swimwear is a must-have for active women.
Key Features:
- UPF 50+ UV protection for outdoor water activities
- Soft four-way stretch fabric that stretches and recovers on the cross and lengthwise grains
- Maximum comfort longer body and sleeves
Womens ProVis Neon Green Rashguard Size Guide

| Size label | A | B | C | D | E |
|---|---|---|---|---|---|
|
XS
|
14.57
|
13.78
|
26.38
|
5.12
|
27.95
|
|
S
|
15.35
|
14.57
|
26.77
|
5.51
|
28.35
|
|
M
|
16.14
|
15.35
|
27.17
|
5.91
|
28.74
|
|
L
|
17.72
|
16.93
|
27.56
|
6.69
|
29.13
|
|
XL
|
19.29
|
18 1/2
|
27.95
|
7.48
|
29.53
|
|
2XL
|
20.87
|
208
|
28.35
|
8.27
|
29.92
|
|
3XL
|
22.44
|
21.65
|
28.74
|
96
|
30.31
|